IOS Application Security [Chapter 0x2] - Reverse Engineering and Runtime Analysis
Hello world!
This is a continuation of previous chapter about IOS Application Security(check). Last time, we managed to finish the first challenge from ivrodriquez IOS ctf, now we move to the second challenge which require deeper understanding of IOS binary that push us to do reverse engineering and runtime analysis.
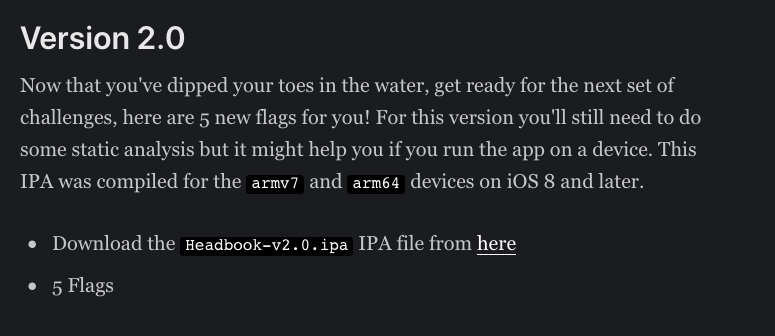
As stated by the author itself, we can proceed to do the challenge by static analysis but running the application(dynamic analysis) will might help us gain better understanding on how to solve this app.
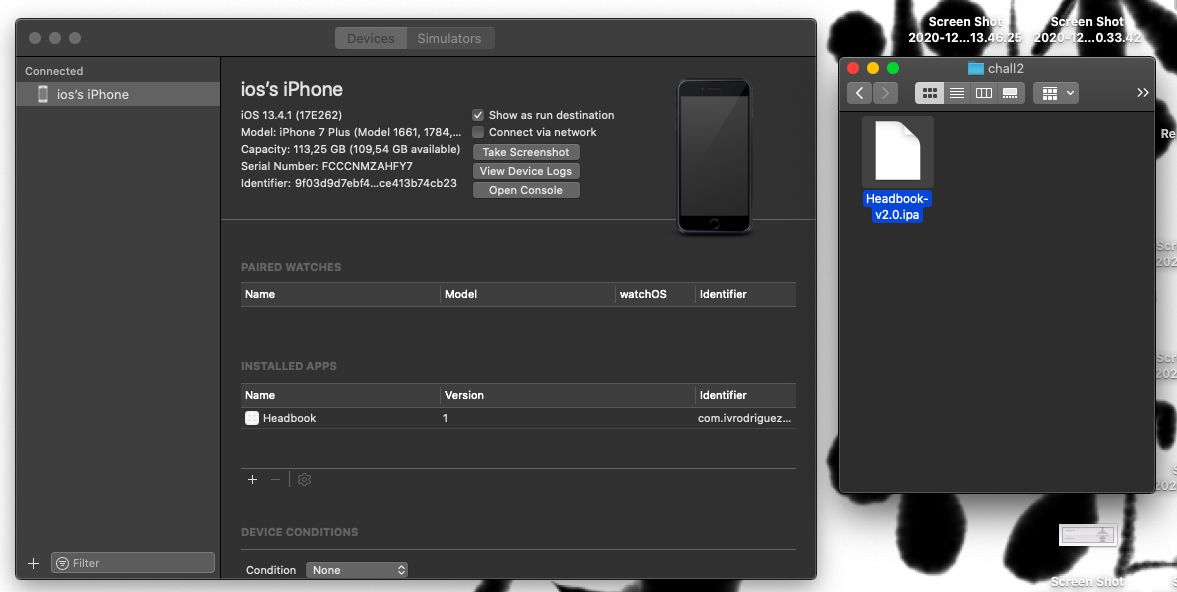
Thus, for the rest of the blog I will use Iphone 7 that have been jailbroken to do the dynamic analysis. Installing the application is pretty straightforward, all you need to do is to to attach the jailbroken Iphone to your macOS and open Xcode you can choose “window” > “Devices and Simulators” where it will pop out a list of attached/available devices that you can interact.
Finally, drag and drop the application to the “INSTALLED APPS” section. Walaa! the application icon will be showed in your Iphone. The name of the icon will be “Headbook”.
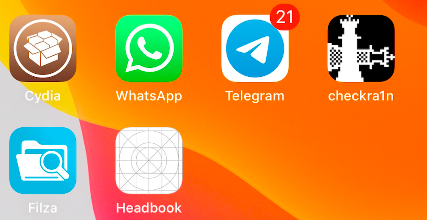
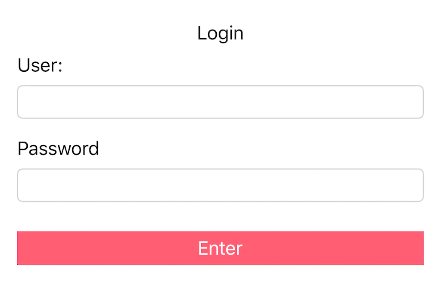
Open the application and you will be greet with login page, if you try to enter any random string to both of the form, you will be move to another viewcontroller which show a paragraph of “lorem ipsum”.
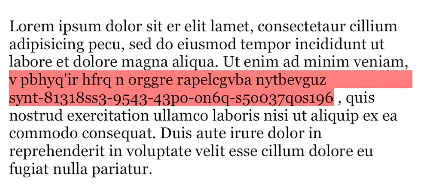
Okay, that’s it! don’t waste your time to search for a hidden UI in the application, it will not get you anywhere.
Flag 1: Caesar Salad
I don’t know if you notice it or not but the first flag is already discovered from the previous picture. Notice that the flag is highlighted by red color, but it’s encrypted with Caesar Cipher. Luckily, Caesar Cipher is easy to break you can try to all combination from 1-25 or go straight to ROT-13(link).
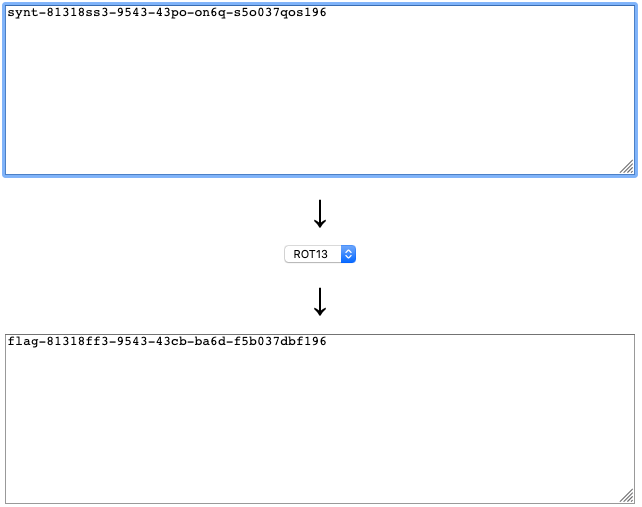
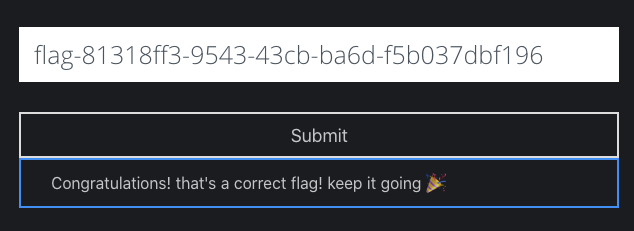
Flag 2: RE is hard!
The second flag, require us to reverse engineer the application. First things to do is to unzip the application and load the binary file to the hopper disassembler.
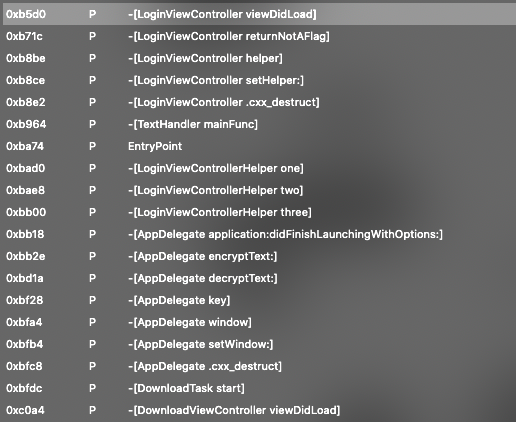
switch to the label section in hopper disassembler, we can see there are couple of methods that we can analyse. Lets start with -[LoginViewController viewDidLoad] method, since this is the one who responsible to initialize the login page in the application.
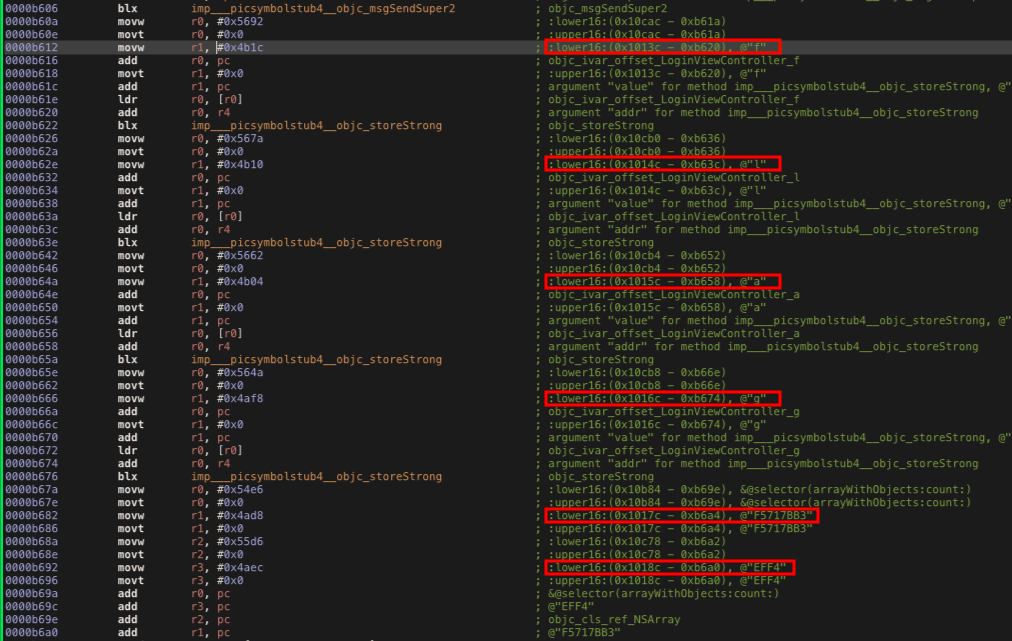
If you look closely at the right side of the assembly instruction which hold details of the called object and parameters, we can see that this function start constructing our flag but only half of it(flag-F5717BB3-EFF4).
so where the rest of it?
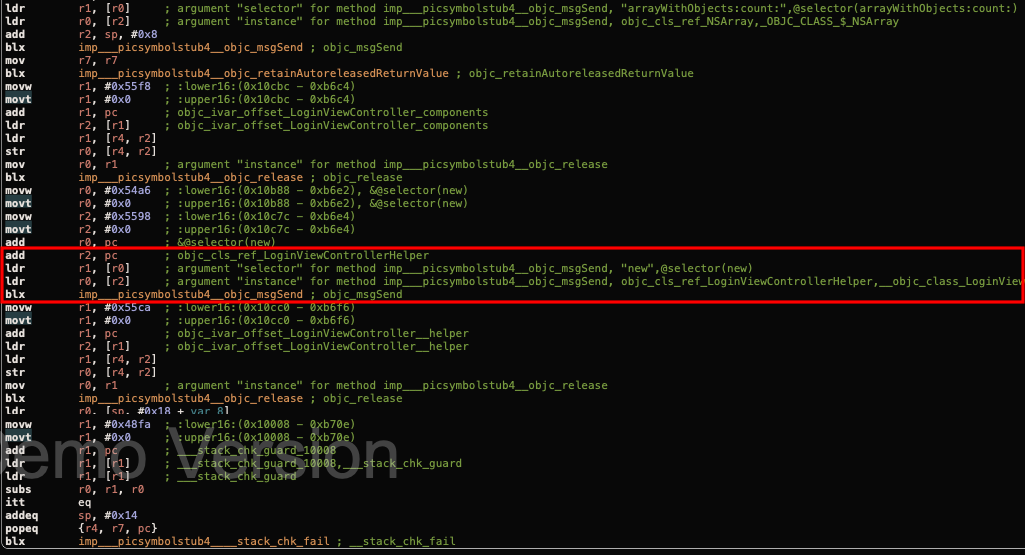
You can try to scroll down a little bit and if you try to read it, the function initialise a new object called LoginViewControllerHelper, by load(ldr) the parameter “new” as the argument of selector(R1) and location of LoginViewControllerHelper class as the argument of instance(R0), which used by objc_msgsend function. This is how objective C initialise an object under the hood.
This can be a new clue for us to get the remaining parts of the flag, we can try to search for methods that have connection with the class. In the end, you will find three methods which is “one”, “two” and “three” each of this contain the remaining string that we need to get the flag.


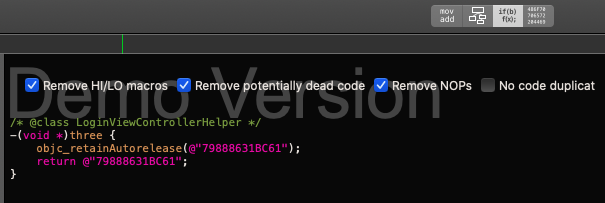
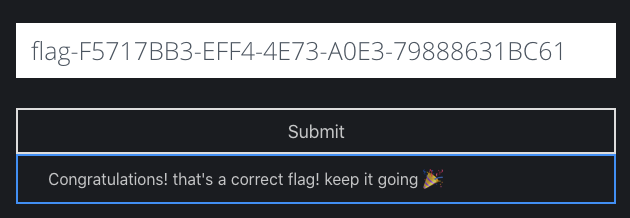
By appending it with the current result earlier, we got the second flag.
Flag 3: Internet!
Lets go back to the label section that contain all of the methods within the apps, one of it(DownloadTask start) caught my attention.

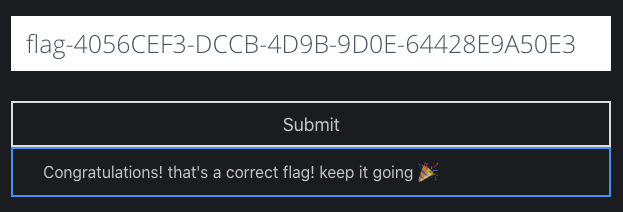
By going to these methods, we found out that the application use internet connection(NSURL) to contact a URL called ctf.ivrodriguez.com/analytics, by probing the destination url using curl, we got the third flag.
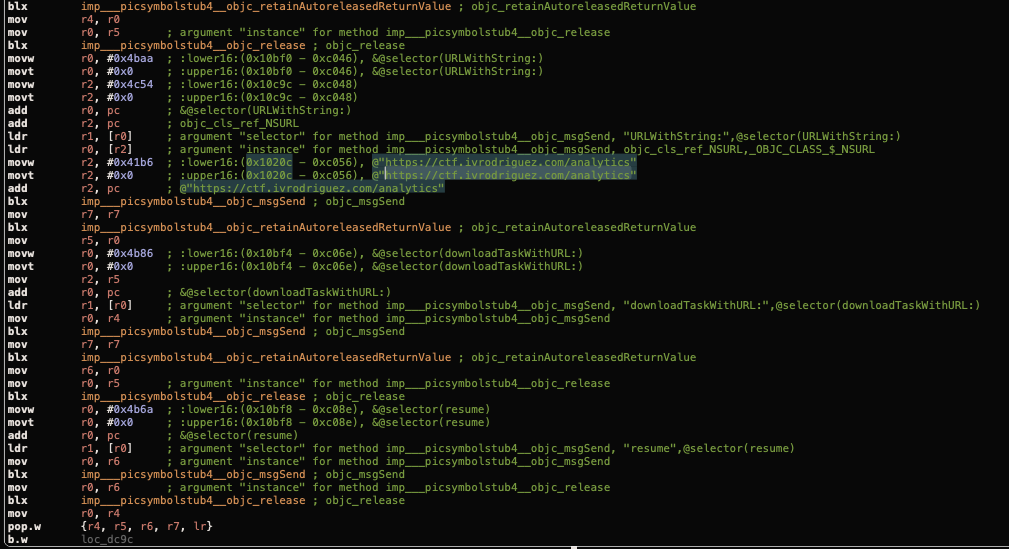

“URLWithString” is the method to initialise destination URL for obj-c, while “downloadTaskWithURL” is the method used Creates a download task that retrieves the contents of the specified URL(ref) using the object NSURL that has been created earlier.
Flag 4: Introduce Cycript
The last two flags can be retrieved by using tool called Cycript, to those of you who don’t know this tool, I will give a short intro about it but we will cover this in a lot more detail in the future post. In summary, cycript is a tool to basically explore and modify running application in iOS and Mac OS using javascript syntax(more).
To install cycript you can use cydia and search for “cycript”, like the below figure.
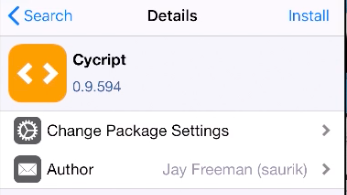
Once you install the tweak, go to the jailbreak using ssh for accessing the console and iproxy to forwarding the connection.
open a new tab to execute the following command:

and open another tab to connect to the jailbroken iphone via ssh(password: alpine):

Okay! before we move on, we need to know where is the location of the 4th flag. Unfortunately, the flag is encrypted and you can found it in this class method. Its looks like that the 4th flag is showed when the application has finished launching(more) through a NSLog class that will write console log in the system.

Luckily, the key to open the encryption is hardcoded in the Info.plist(bad practice of Applied Cryptography)

But how to decrypt the string? we still need to know what is the algorithm and the components need by it. IOS do encryption and decryption process using CCCycript class that requires.
CCCrypt(CCOperation op, CCAlgorithm alg, CCOptions options,
         const void *key, size_t keyLength, const void *iv,
         const void *dataIn, size_t dataInLength, void *dataOut,
         size_t dataOutAvailable, size_t *dataOutMoved);
You can found them in these two class method -[AppDelegate encryptText:] and -[AppDelegate decryptText:]. We will focus on the decryptText method, in the first few line of assembly code, we can see that the method called another method named “key”.

If we go to the “key” method, it retrieve the key by first using [NSBundle mainBundle] that will directly access the Info.plist file. As you know from the previous tutorial .plist file structure is like XML but the concept of operation is like dictionary which using key to get the content.
Thus, once the method get the .plist file it access the encryption key which using “enc_key” as the key name with objectForKey method and return the value at the end of the function to the caller.
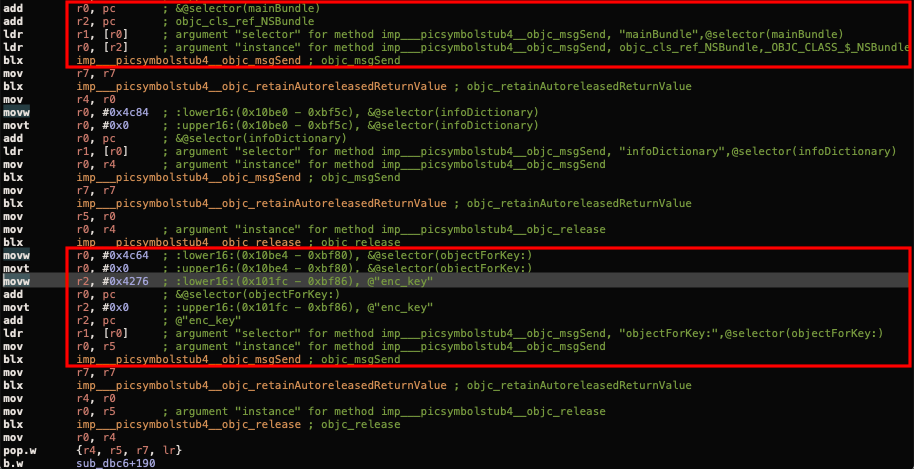
Next, the key will be eventually passed as one of the parameter to passed to the CCCrypt method.

There is a lot of things, that we need to gather to get the decrypted text, is there another way to get it without all of this hassle? Well thats why we have Cycript in the first place.
Cycript work by attaching to another program process, to do this you need to know the PID of the program by using the “ps” utility.

Once we got the PID, we can put into this command:
~# cycript -p 41973This will spawn the cycript console, like this:

So our focus now is to get the “AppDelegate” object, by using the method shown in figure above. By putting it in choose() function it will return array of its objects, in this case we have only one.
To make this easy, we can safe the object into a variable, like this:
cy# app_obj = choose(AppDelegate)[0]Now, we can probe the variable to get more extensive information on the object this include the methods that we can access, by putting this command:
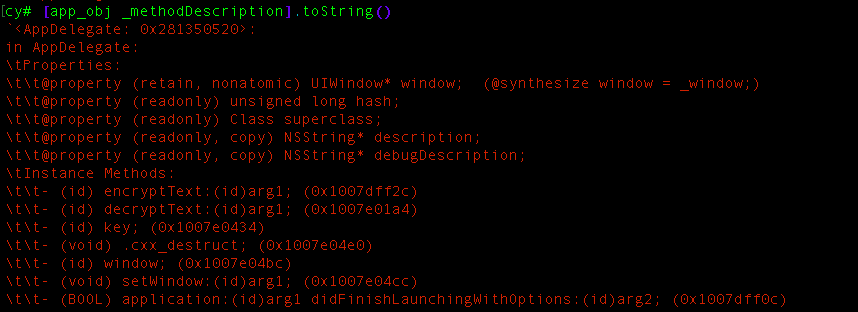
as you can see in the instance methods section we have the desired method and we can called this function to get the decrypted text, like this:

so what just happen? we actually tap into the application process and because we inside the process we were be able to alter and called the component inside it, thus we able to use this advantage to called the decryption method to get the flag text without worrying the details of the working scheme(Thats the beauty of cycript).

Flag 5: Easy Peasy Lemon Squeezy
The last the flag is in the -[TextHandler mainFunc] but if you take a look of it, its kinda encode with weird alphabet but to get the flag, we don’t need to know how this function work in detail, we can use cycript again to get the object and call the method to give us the flag.

But if you try to get the object using choose() function like earlier, you will get an empty array this happen because the object itself is not called by any other method in the application, thus, we need to create this object first.
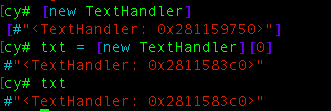

after we have the object we can call the method to get the flag.
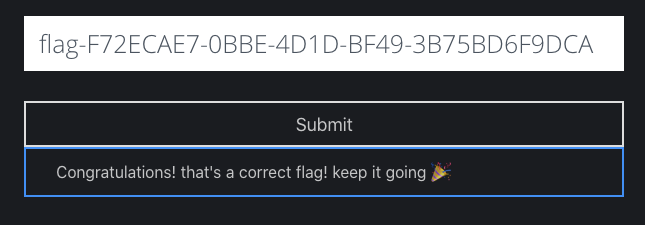
That’s all folks! I hope you enjoy this post and see you in the next one.