IOS Application Security [Chapter 0x1] - Introduction
Hello world!
In this post, we will take a look on how to start doing analysis of an .ipa(ios app store package) file and several pointers that you can use to start looking for vulnerability in the application.
Just like an .apk(Android Package) file, .ipa is just a “zip” file that consist with components that bundle together with the application binary so it can be run in the IOS device.
We can take a look on what’s inside the file by just using the “unzip” utility.
Setting Up The Environment
-
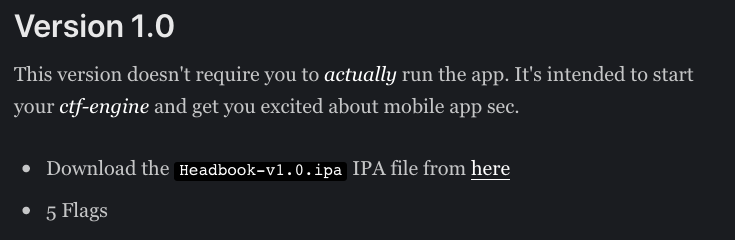
Target: We will use Headbook-app.ipa file from ipa-file.
-
OS: I will use mac os but I believe all the tools and technique that I show in this blog can still be used in Linux environment.
-
Note: According to the author of the CTF, you don’t need to run this application. The point here is to get your feet wet a little bit.
Unzipping the IOS Application
As I mentioned earlier, we can start our analysis by unzipping the .ipa file and look what components lie beneath it.
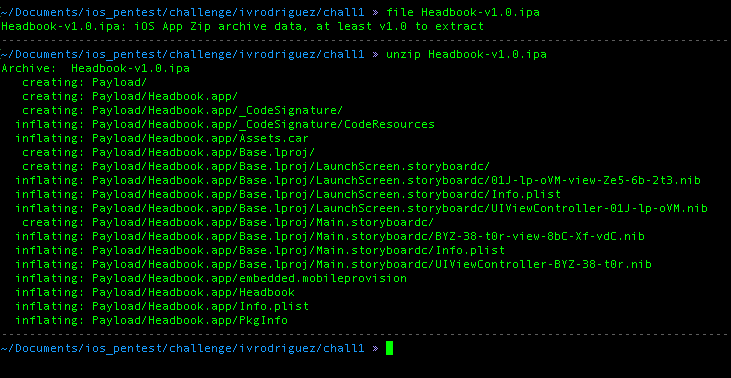
From the image above, we can see the .ipa file is identifed as Zip archive data and once we unzip it we have a new folder called “Payload” which has another directory that contain all the component of ios application.
Lets try to analyse each of this file!
What is Info.plist?

First stop is the Info.plist, you can consider this file as the summary of what application can do in your devices this include also the minimum version of IOS version, the name of the app, permission, supported architecture and etc…
However if you try to dump the file using “cat”, you will get a lot of gibberish. This need to be converted into a readable XML text by using “plutil”.

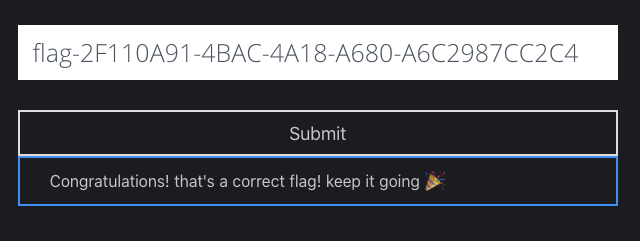
You can get the first flag by going to the end of the content and also to verify the flag you can input it into verify-link

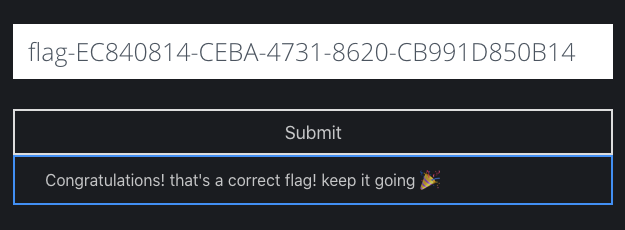
Congrats! we got the first flag!
Try to take your time to make yourself comfortable with the .plist structure.
Note: for linux user you can convert .plist file by using plistutil
~#sudo apt-get install libplist-utils
What is Assets.car?
Analysing Assets.car is pretty confusing at start since there are not many information about it, however timac create a really well and thorough explanation about this type of file(check this link)
In summary, .car file let IOS application to manage assets such as images, textures, color and data by not simply copy it into app bundle but they are compiled into one .car. So don’t be surprise if you ever get stumble with one big .car file when analysing an ios application.
in order to analyse the .car file you can use this tools:
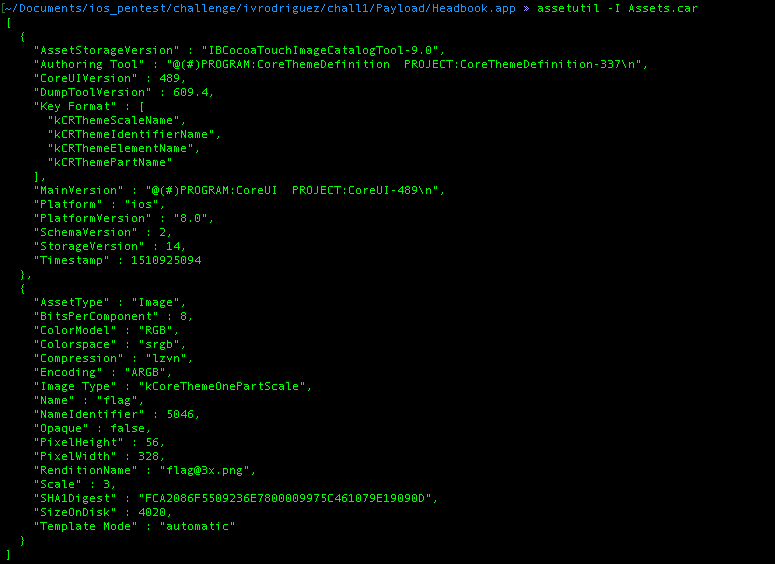
- assetutil to get the list of description about the content inside the .car
- acextract to get a list nd extract files inside the .car file and save it into one folder, you can download the tools from here


From the result above, we can see that inside the assets.car file there is one picture file called “flag@3x.png”, we can be sure that this is the file that we are looking for. Thus, I used acextract to get the picture and we got the second flag.

What is .nib?
In summary, .nib file is a file that allow developers to be able to manage GUI of the IOS application and wire them to functions and variable, to an IOS developer this is the “main.storyboard” file. More detail explanation of .nib file can be check on this website.
To analyse the .nib file you can use python tool called [ibtool][nb]. By default .nib file is stored in directory “Base.lproj”, once you inside the directory there will be two storyboard, which is for main storyboard and launchscreen.
you can go to the main storyboard folder, you will find .nib that ready to be analysed.

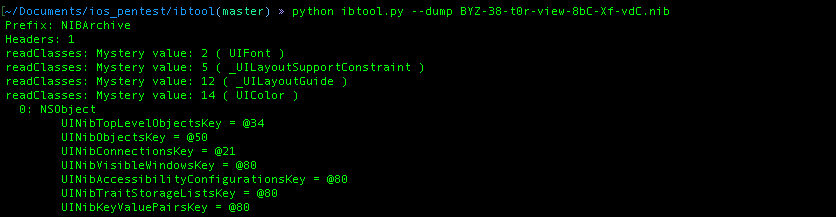
ibtool convert the .nib file into human readable format by grouping based on the type of UI object that they have.

You can scroll the result, little bit and you will get the third flag.

Analysing the IOS Binary File
As you may notice the last file that we need to analyse is the binary of the application itself. IOS used Objective-c or Swift to build its application, unlike Android that easier to obtain the source code, you need to be able to read ARM assembly and know Obj-C or Swift object in order to understand the structure of the Application.
But of course you don’t need to be an expert of ARM, neither a savy swift developer. You just need to have several basic knowledge on both of this area. We will go down on this two material more in detail later in the next chaper( Don’t worry :) )
To reverse engineer the IOS binary you can use several tools such as radare2, ghidra, hopper or if you have extra money you can just go straight to ida-pro. But in this post we will go for hopper(free-version)
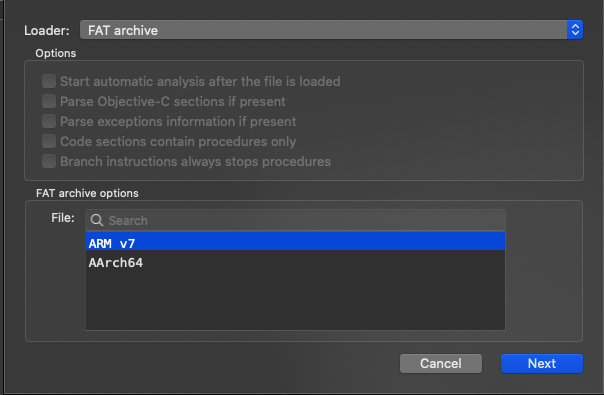
When loading the IOS binary to the hopper disassembler, it gives us two option of what type architecture that we want to choose for analysing the binary. For me, I will choose the ARM v7 32 bit since I’m more comfortable in this arch, feel free to use the 64 bit ARM version.
If you go the “labels” column, you will have the list of functions within the binary. You don’t need to check all of them one by one since most of them are by default generate by the system, you only need to focus on the labels that have “-[
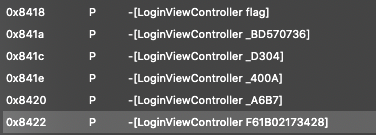
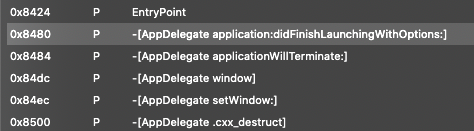
From the images above, we have several methods, however functions name that starts with “LoginViewController” will not give us anything since it only contain jump instruction(br instruction).
We can move to the function name that starts with “AppDelegate”(details) which is the root object of your app, try to go the -[AppDelegate applicationWillTerminate:] that tells the delegate when the app is about to terminate.
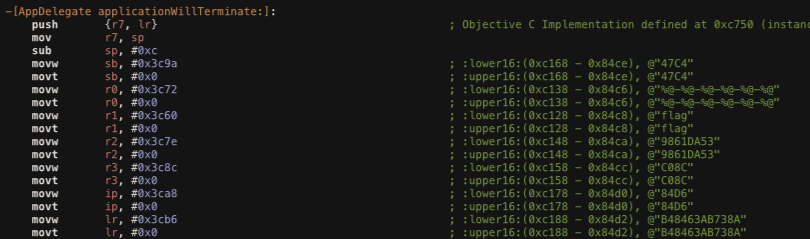

From the above images we can observed that the function try to prepare several strings that contain the flag and append it into one string. We can assemble this strings to get the flag
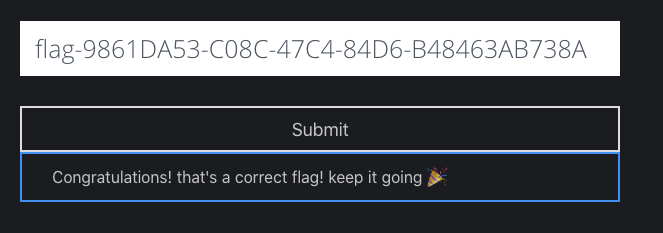
We got the 4th flag!
But where is the fifth and the last flag?
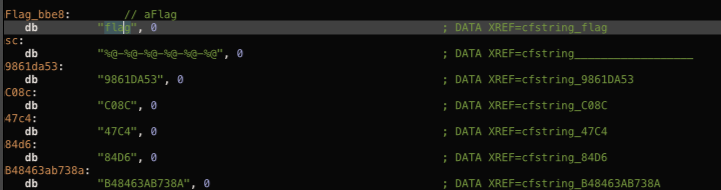
Try to switch to the “strings” section in hopper and search for word “flag”
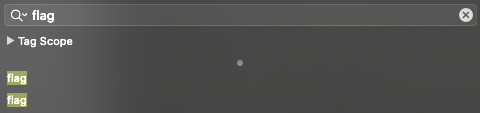
From the above image, we got two strings, we can try to cross reference these two strings to see where it uses in the application. Right-click the strings and choose “reference to…”
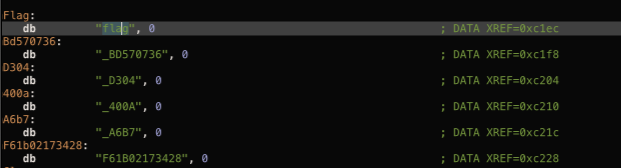
The first cross referense take us to the different flag that we found earlier, this could be the one that we look for
While the second is leading us to the fourth flag, thus, let us focus on the first one.
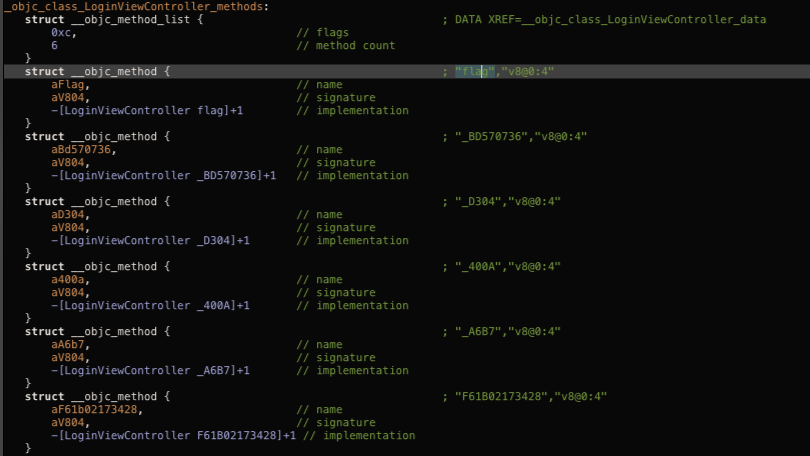
By doing cross referencing again in hopper, it take us to the struct of the obj-c method from LoginViewController. From the result, we can observed that each of the flag is saved and separated into different structs. We can try to assemble each of the string to get the flag.

Finally, we got the last flag!
That’s all folks! I hope you enjoy this post and see you in the next one.