ARMv64-Exploit Development [chapter 0x1] - Introduction
Hello world!
In this post, we will cover some of key points and introduction for ARM 64 bit language that will act as a first step of your journey to become a savy ARM exploit developer. To make this area balance between programming and exploit, we will go fist talk about programming(Fundamental Concept) and the next post will be on how to spot a vulnerability in the program.
Prerequisite
-
Programming language that we will used throughout the series is C and Assembly(for programming and fundamental concept), while python for exploitation. This means I expect that you at least have learn the baisc of programming language.
-
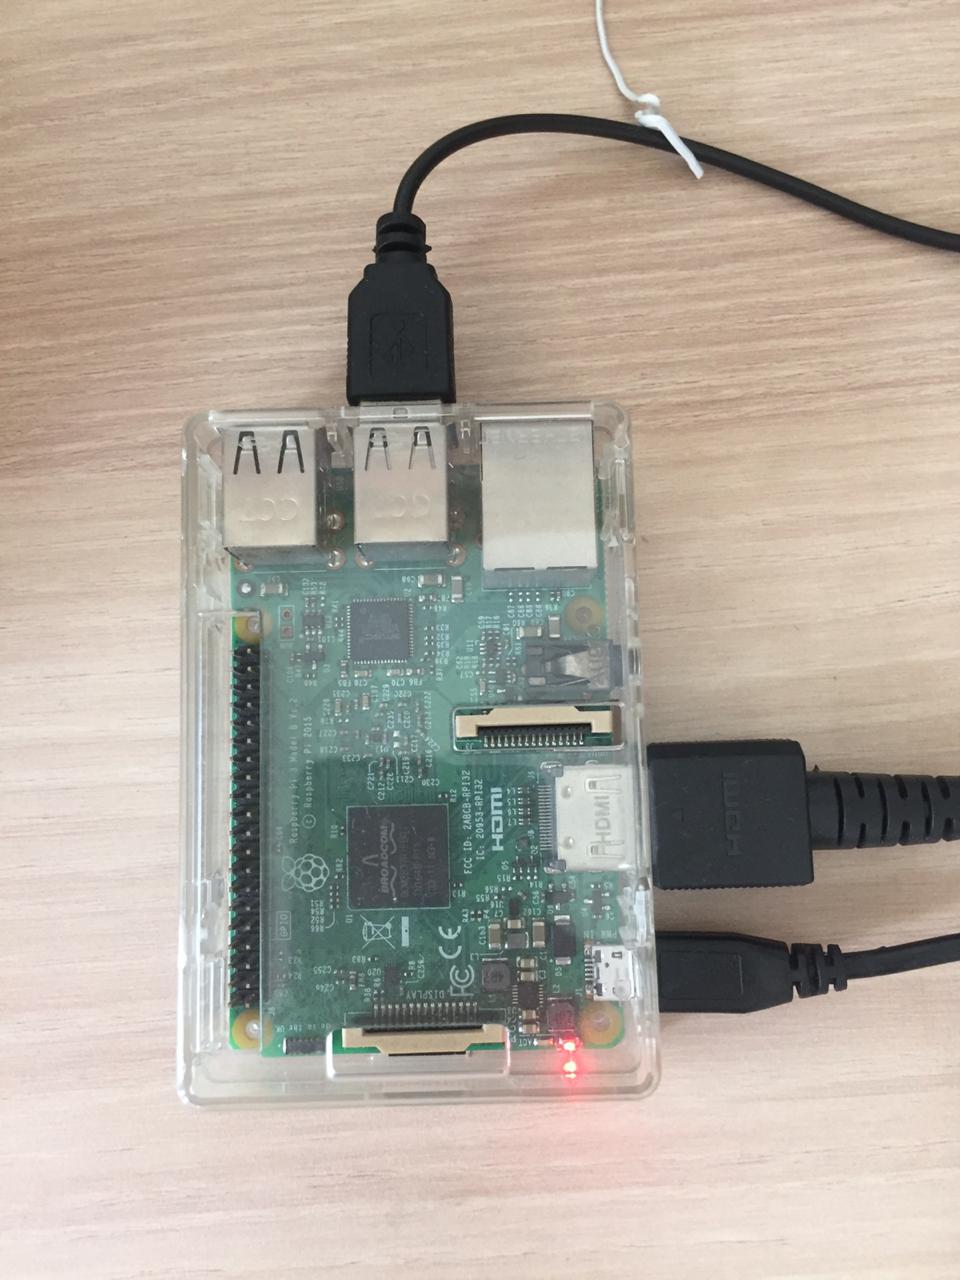
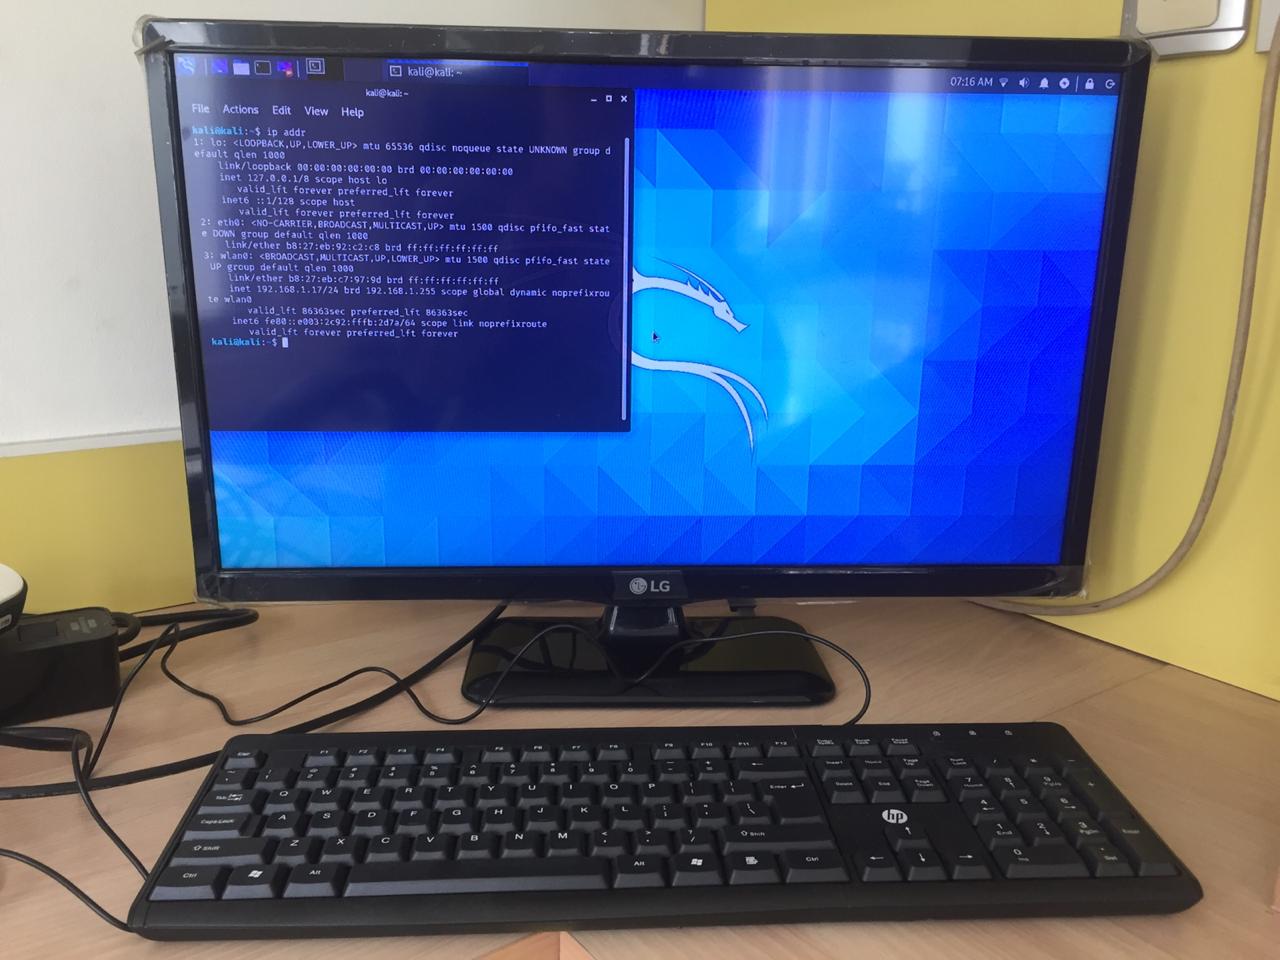
All of the steps and execution done in the series are done inside kali-linux 64 bit ARM from Raspberry Foundation(Download from this link) that installed in Raspberry Pi 3B with 1GB RAM and 32 GB sd card memory. However, if the process is getting more intense, I will use Raspberry Pi 4.


Disclaimer
I’m not an expert nor a tech savy, I’m just a simple guy who curious about everything. The real expert is the author who wrote this great books that I bought and reference it to write this series, please support them by buying the original copy of the book from official store:
-
Beginner Guide to Explotation on ARM volume I and II by Billy Ellis buy-book
-
Programming with 64-Bit ARM Assembly Language by Stephen Smith buy-book
-
Effective C: An Introduction to Professional C Programming by Robert C. Seacord buy-book
-
Hacking: The Art of Exploitation, 2nd Edition buy-book
What is ARM and Why Should Care About IT?
Basically, ARM is just another CPU architecture used by computer device like Intel and PowerPC. The difference between ARM with other architecture is that it is based on RISC or Reduce Instruction Set Computer instruction, this means that it consume less resource, less silicon, less cycle, less cost while offering pretty good performance. This is obviously become a selling point for ARM that makes Apple used it to design iPod in early day.
From portable music player, ARM can now find in any low power based device(IoT) including in iPhone and Android phones. Thus, we can expect that ARM is going to be the next hot thing in computer world, not to mention with the emergence of M1 chip from Apple, learning its security implementation will make it more crucial for future security researchers.
I hope this could motivate you guys, to pursue knowledge in this area.
Why 64-bit?
You probably wonder why am I starting with 64-bit rather than 32-bit? its because the architecture not many website cover this material, thus I like to be one of the first who introduce ARM-64 bit security. Eventhough you start learning from 32-bit all the knowledge it’s transferable to 64 bit since there are no major differences between these two.
That’s it for the pep talk, let’s go into real deal! we will start by covering:
-
ARM CPU Registers
-
Writing Hello World in ARM assembly
-
Debugging Assembly
-
Compiling and analysing C in ARM
ARM CPU Registers
Under the hood, the data in our computer is not parsed nor operated in memory instead it store in CPU register for operation.
Why not just do it directly to the memory? because there will be loss of time if we try to do it in memory, since memory itself is a separate component for the CPU to go there. Thus, you can think register as a component within CPU that offers “instant access” but limited.
ARM processor works with the concept of load-store architecture, where there will be three process that you have to go through, for example if you try to add two numbers together, you might do this:
-
Load the two numbers to their respective register somewhere in the memory.
-
Perform the operation and saved the result to a third register.
-
Store the result that we saved earlier in third register into the memory.
When 64-bit program run in ARM Processor(User-Mode), it has the ability to used:
-
31 general-purpose registers denote as X0-X30 to perform basically anything you want, whereas in 32-bit arm you only have access to 13 registers denote as R0-R12.
-
A Program Counter(PC) that hold the current address of instruction that being executed. In exploit development, this will be our main target to take control of the program. In 32-bit, PC register is equivalent to R15
-
A Link Register(LR) which equivalent as X30 used to stored the return address when function is called. You should try to avoid using this register or your program will go “kaboom”. In 32-bit, LR is equivalent to R14
-
A Stack Pointer(SP) which point to the current top of the stack. In 32-bit, SP is equivalent to R13.
Writing Hello World in ARM-64 bit assembly
Just like the tradition in any programming language, let’s try to create a assembly program that spit out “hello world”. Put this code in any text editor inside kali linux.
.text
.global _start

_start:
	mov X0, #1
	ldr X1, =helloworld
	mov X2, #13
	mov X8, #64
	svc 0

	mov X0,0
	mov X8,#93
	svc 0

.data
helloworld: .ascii "hello world!\n"
Note: Please don’t try to just copy-paste the code, try to typing it one by one.
Save the code as “helloworld.s” (yes! the extension is .s) and let’s compile the program by using this command:
~# as helloworld.s -o helloworld.o
~# ld helloworld.o -o helloworld
You can just run the program by doing this:
~# ./helloworld
hello world!
Let’s try to understand the code one by one,
- In assembly, the instruction goes with this format:
label: opcode operands Where opcode is the command like “MOV” and “LDR”, whereas operands is the value or register that we used.
- At the top of the source command there is “.text”, this used to defining the section of “text” section that will hold our assembly source code.
.text <
.global _start- The program entry point is at “_start”, we need to define this as a global symbol by writting “.global _start” so that the linker has access to it.
.text
.global _start <

_start: <- At the first section of the code we try to call write() function in linux that used to print a string, first we need to define the parameter that require for the function. According to linux man page, write require three parameters:
write(fd , *buf, size_t count);fd used for file description this tell the whether we want to read(0) or write(1) or error(2). To set the first parameter we assign the value #1 to the register X0 that act as the first parameter.
_start:
	mov X0, #1 <
	ldr X1, =helloworld
	mov X2, #13
	mov X8, #64
	svc 0
*buf used to store the address of the content that we want to output, in this case “hello world!\n” which is reference as “=helloworld”, remember we want the address not the value, thus, we use instruction “ldr” to load the address of the string to register X1 that act as the second parameter.
_start:
	mov X0, #1
	ldr X1, =helloworld <
	mov X2, #13
	mov X8, #64
	svc 0

.data
helloworld: .ascii "hello world!\n" <
size_t count used to store the length of the string, in this case 13, we can assign this value to register X2 that act as the third register using “MOV” instruction.
_start:
	mov X0, #1
	ldr X1, =helloworld
	mov X2, #13 <
	mov X8, #64
	svc 0
finally, to called the system call of write function by specifying the function number in register X8, which in this case 64. After that we called software interrupt by using instruction “svc 0” so we can call the function without worrying about the location of the routine in the memory.
_start:
	mov X0, #1
	ldr X1, =helloworld
	mov X2, #13
	mov X8, #64 <
	svc 0 <
The second section is used to called exit() function so the program can exit flawlessly.
	mov X0,0
	mov X8,#93
	svc 0
Debugging Assembly
lets take a look on what is the inside of the executable, I will used GEF(check) to do debugging on the ELF file. You can think GEF as GDB but in steroid.
Load the file by following this command:

Once inside the GEF console, you can dump the content of _start section by putting this command:

From the result, it doesn’t have much of difference with the one that we have wrote earlier. The only difference is how the data string of “hello world!\n” is stored in the program, lets try to trace it. You can try to peek into the content of the address by putting this command:

Inside the address, there is another address that actually contain the string. This mechanism is similar to pointer.

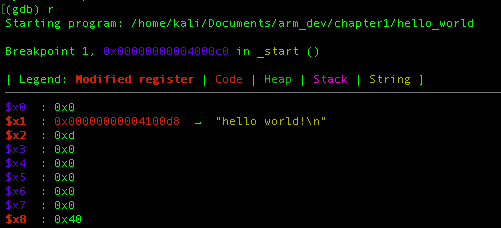
Before we run the program inside GDB, we put a breakpoint at the first software interrupt:

By putting the breakpoint on this instruction we were able to see how the program preparing itself to called the write() function:

When you arrive at the breakpoint, GEF will automatically show the register information and as you can see this is just as we expected. In the assembly we set X0,X1,X2 as the 1st-3rd parameter of the write function respectively and X8 to store the linux function call.
If we move to the next instruction, the program spit out “hello world!”

If you want to familiar yourself with the command in GDB, check page 25-37 in Hacking: The Art of Exploitation, 2nd Edition book
Compiling and analysing C in ARM
Okay! now that you have try to code the assembly, we will try to create and compile the same program but written in C and lets see what the differences, like this:

Compile the source code using GCC:

lets loaded in the in GDB and run it:

As you can see its not much of a thing on the outside. Lets try to see the assembly code within the main function:

The assembly is different from the one we create earlier, printf() function require one parameter and to prepare it, the program first load the relative address 0x5555555000 using adrp instruction in register X0 and then X0 is add with immediate value #0x830 which will be result as the location of the string “hello world” => 0x0000005555555830. To prove that lets create a breakpoint where we put it in bl / call function of printf().


Remember X0 used as the first parameter and from the result it contain the location of the string that will passed to the printf() function.


Now we want to see how bl instruction work but if you put “ni” to go to the next instruction it will skip the internal process of the bl instruction, thus, we will use “si” that will continue by getting inside the function call.
As mention before, bl usually used to call a function and to continue the execution of the program after function is called, it store the return address of the next instruction at register X30.

Continue the execution the GDB will show “hello world” string and exit the process.

That’s all for today’s blog post, I hope this give you a right start to go down the road of arm64 exploit developer. I encourage you guys to try to create a simple program and debug it, so you have more general understanding on how to do reverse engineering.